I have been buying handmade bar soap for years and swear by it. My dry itchy skin is gone and my skin sensitivities disappeared. Then a few years ago, my mom said “I’m surprised you don’t just make your own soap, being as that would be a ‘Jess kind of thing’.” I love to make things in our home and follow an all-natural lifestyle. Then I thought “Hm! You're right! Why haven’t I made soap??” There’s something about using handmade soap that you just can’t find in mass manufactured soap. Handmade soap has character. It’s charming, smells good, feels good & it’s comforting.
I started reading online in depth about the process and buying books about soap making. I read and researched for months before I was able to find the ingredients & supplies I needed, and was brave enough to give it a go. There are actually three different methods to make soap: cold process, hot process and melt & pour kits. I make cold process & hot process from scratch. The melt & pour kits are handy little kits you can buy that have pre-made soap already in solid form that you heat up and can pour into molds.
So to make soap you basically need two main ingredients: oil and lye dissolved in water. I’m not even lye-ing to you! It’s that easy. So there’s some safety precautions you need to be conscientious about as lye, also known as sodium hydroxide, is corrosive to the skin until it completes the chemical reaction of mixing with the oils & fats to make a final end product of soap & glycerin. This process is called saponification. The temperatures get high after mixing together and the liquid state solidifies making bar soap. The science side is understanding the fatty oil composition of the different oils & butter and formulating recipes, calculating how much lye is requires to turn that weight amount into soap. Don't worry, there are special soap calculators to make this part easier. This is the basic explanation of how it works, but then you get the creative side of it too! You get to chose scents, colours, design, theme, shape, etc. This is why I love soap making so much. I get to use the science part of my brain and calculate & formulate, but also the right side of my brain to get creative!

So, following our safety precautions, I wear gloves & long sleeves while handling the lye and dissolving it into the water, and again while mixing, pouring & cutting the soap. I calculate my formula and keep a detailed record book of each recipe I make. Everything is measured in grams so I have a specific scale for this- thanks hubby for the KD-8000 scale for Christmas! I have separate bowls, spatulas, measuring spoons & cups and immersion blender for soap making. It has taken over half my kitchen, and I feel I am forever cleaning between cooking & soap making.

First, I mix the measured lye into cool water, stir well and then I place outside in our chilly winter temperatures to cool down quicker! A bonus to cold Canadian winters. Then I measure any hard butters or oils in my recipe and melt them on the stove. This is commonly coconut oil, lard, tallow, cocoa butter or shea butter. Next I measure the liquid oils and add to the melted oils to cool. Common oils I use are olive, castor, canola, sunflower, grapeseed, rosehip, jojoba or sweet almond oil. I have an infrared temperature gun that I use to test the heat, as I won't mix the lye solution with the oils until it is under 120F. Next I suit in eye protection and gloves again to have the magic happen! It doesn't take much mixing with the blender for the bonding to happen and the process of saponification. There are three different stages that happen at this time called trace- light, medium & thick. Depending on how you want your soap batter to behave, you mix until your preference. You also add your scents, my preference being all-natural essential oils and other all-natural additives such as clay for colour or poppyseeds for exfoliation for example. Then you pour the batter into a mold. I use wood rectangle molds that my husband built for me, lined with parchment paper. Yes this is a pain to prepare each time but I have yet to use a different method. Once poured, you can make swirls or layers, peak the tops or cover with botanicals.


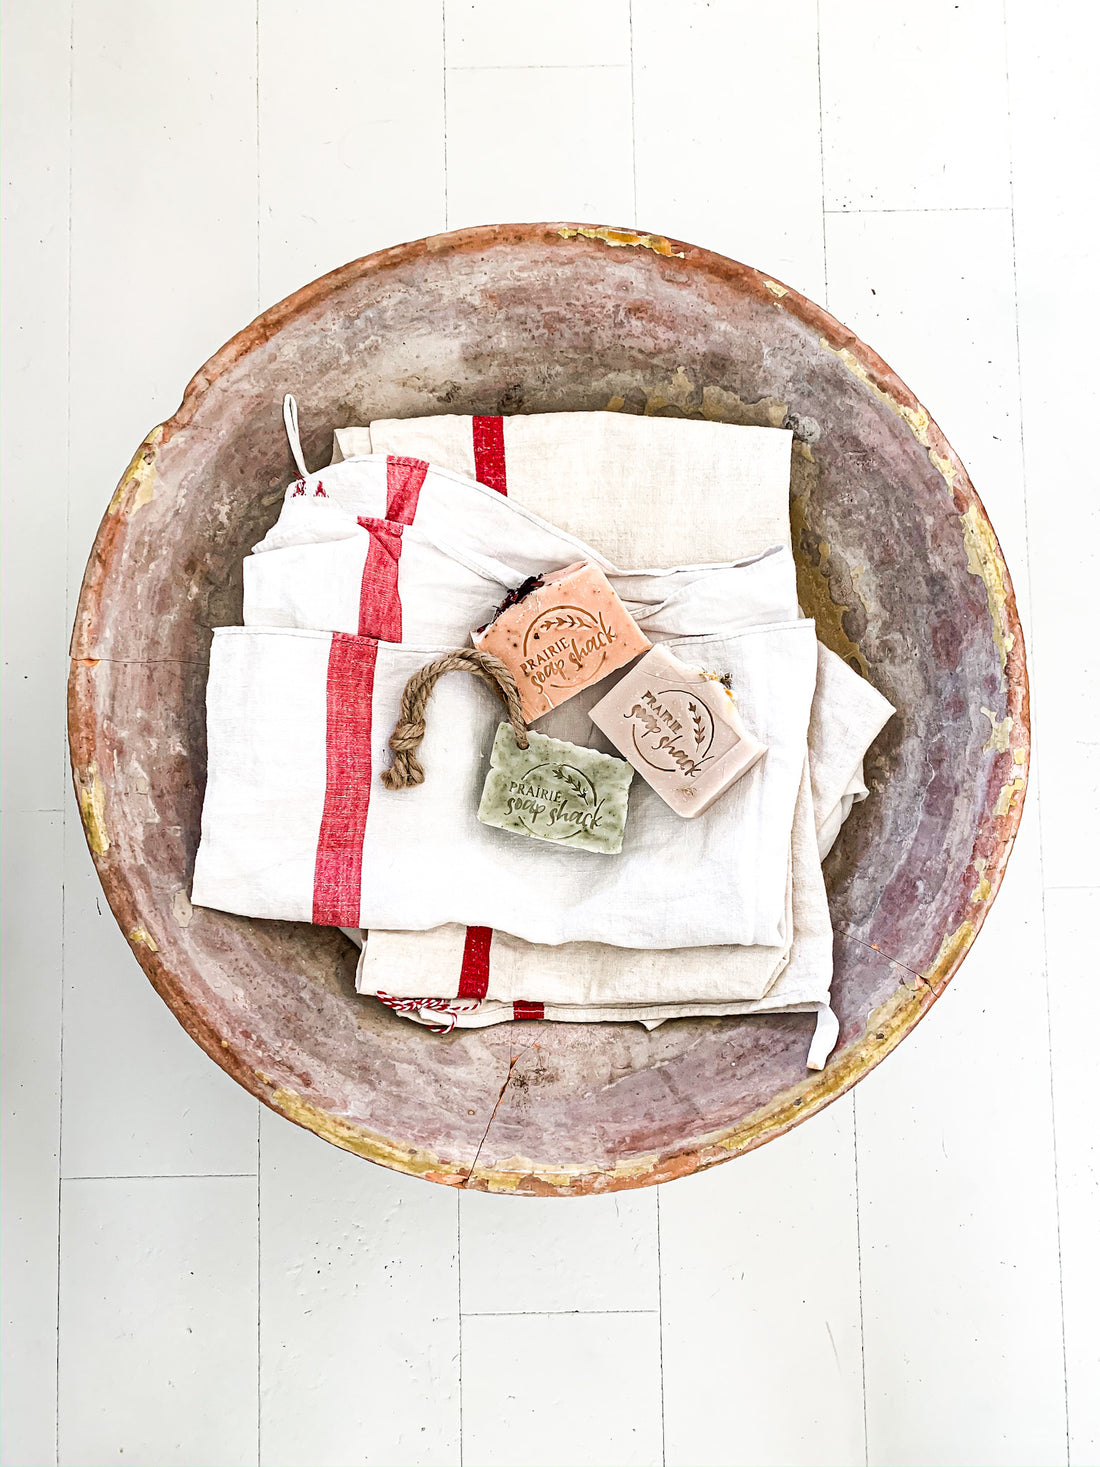
The soap then sits for around 24 hours and when it has cooled and hardened, it can be removed from the mold and cut into slices. I also then stamp my soap bars with my logo. The process isn't done yet! Cold-process soap takes 4-6 weeks to cure and have water evaporate out creating a gentler & harder bar of soap. So I have wooden curing racks for this. Of course later on comes the labels (creating, printing, cutting, wrapping, glueing).

So this is the basic overview of how I make soap! Hot process is a different method where I actually pour the mixed soap into a crockpot and cook for an hour before pouring into the mold. This speeds up the saponification process but creates a more rustic looking bar of soap. I enjoy both methods.
Of course there are many variations, soap making preferences, methods, or tricks that people have. That's what is so fun about soap making. Each batch can be unique. Depending what formula you use, it gives the bar different qualities and properties such as hardness, creaminess, bubbles, lather, etc. Using essential oils gives therapeutic qualities or aromatherapy. Using clays or activated charcoal gives detoxifying qualities. Using herbs or botanicals, either infused into the oils ahead of time (which is what I often do) or directly into the bar give healing, soothing herbal qualities. The possibilities are endless.

Our end result of "Saskatoon Berry" soap made with handpicked wild saskatoon berries from our farm.
Have any questions? Have I piqued your interest? Comment below or message me any thoughts you may have.
3 comments
Thank you so much for your article.
It was of help to me as I prepare to start soap making business. I wish you can send me a video of the same. Thank you.
Hi Kim! Glad you enjoyed reading my post. Ashing is something that happens so easily- sometimes I just embrace the ash look! I have tried covering the fresh soap batter with plastic wrap, or spraying with 70% alcohol but what I find works the best – is to just remove the ash after the soap has hardened and before I cut it. I run it quickly under hot water (careful not to rub and create suds!) and then air dry. It gets rid of the ash and makes the soap shiny. I have also heard of people using a steamer over their bars.
Good luck!
Thanks for sharing your process for CP! Lovely to read. Any tips on preventing ashing?